...
The process starts off by specifying required predetermined set of attributes relating to a product through the PIM PCM user interface. These attributes are the minimal set of values required in order to create an overview of the product completeness. After the required attributes are selected, the product completeness overview can be viewed and sorted at a glance on the all products page. This is a handy functionality that allows users to view at a glance which product is ready to be send to the sales channels without having to click and scroll in each individual product.
Below you wil find the step by step instructions on how to create a product in PIMPCM.
Set your minimal set of attributes as required
Click on ‘configuration’ on your navigation menu.
Go to ‘attributes’ and click on ‘attribute definitions’.
To edit the required checkbox click on the edit button. (see image 1).
Note: In case you need to create a new attribute definition, simply click on the 'add attribute' definition button.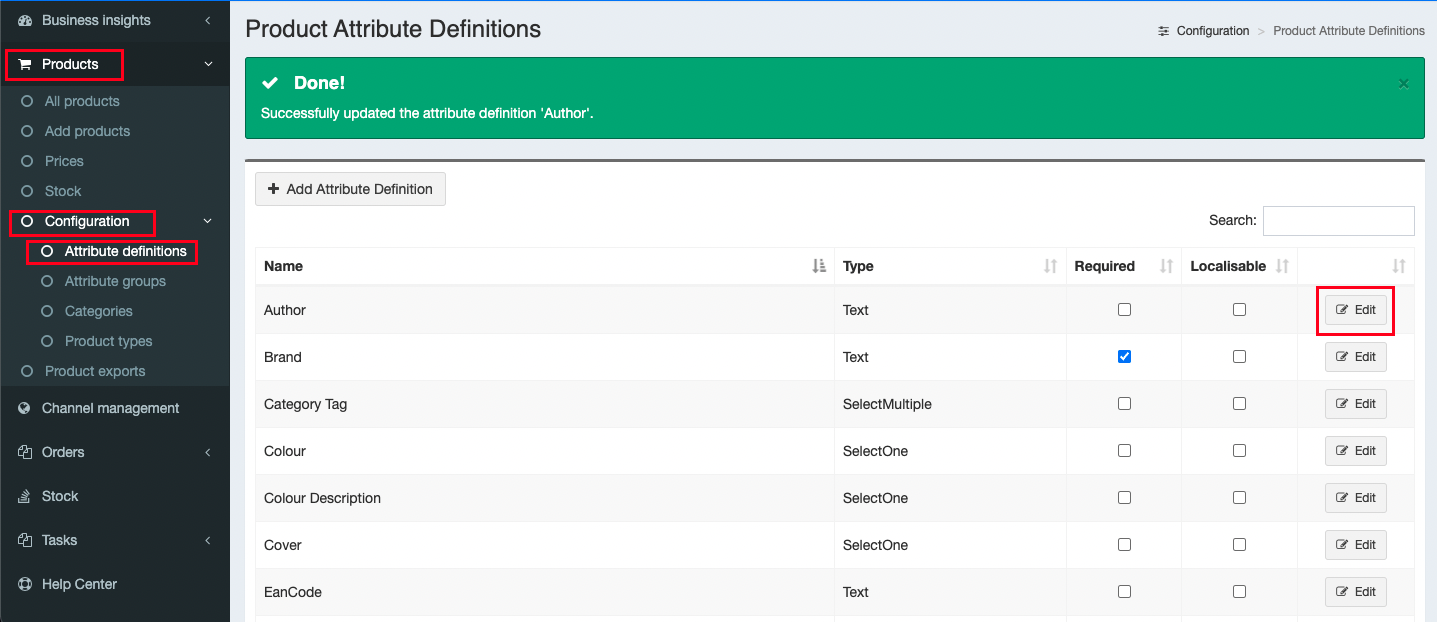
Activating the product completeness functionality
Click on the gear icon on the top right of your screen.
Check the checkbox ‘'Product Completeness’'.
This will load the form that will enable you to activate the product completeness functionality (see image 2).
Note: to deactivate simply leave the box unchecked.
...
3. Next, click on products
4. Click on all products.
The page with load with all the products in PIM PCM and you will notice a new product completeness tab at the top of the products table (see image 3).
...
Great now we can see the products which are enriched with the required attributes at the top. By clicking the “completeness” button we can also sort this from low to highest or as seen on image 3 from highest to lowest.
Click on the ‘+ More filters' button.
Click on the more filters button
Drag the value selector as desired to the left or right
Click on the ‘apply filter’s' button
you will notice the page will refresh with the added filter value (see image 4).
...
Assign to sales channel(s)
...